Search
Search
Search

From ForDataRecovery.com we want to offer you all the necessary information so you can recover your Spotify password , and be able to access your user through...
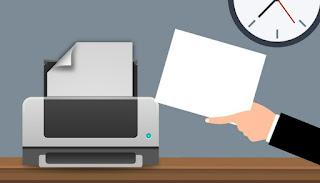
Does our printer want none of it working? Let's see together how to reset it to restore the original initial settings Printers can also cause a headache for...
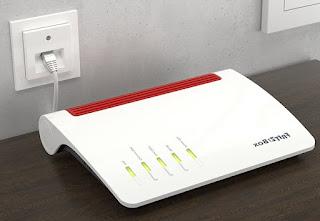

In Windows 7, 8 and Windows 10 all network and internet connection configuration settings...
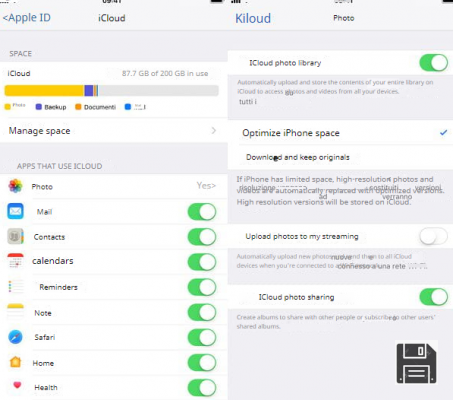
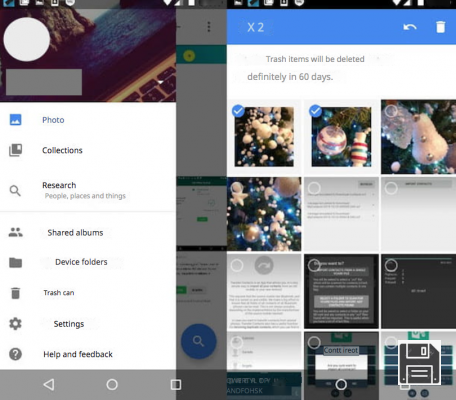
From ForDataRecovery.com we want to offer you all the necessary information so you can recover your photos from iCloud, using your Apple device (IPhone). To do this you will...


![]() Sitemap 2025 / fordatarecovery.com
Sitemap 2025 / fordatarecovery.com ![]()
![]()
![]()