Preliminary information
Before getting to the heart of this guide and explaining, in fact, how to take apart a laptop, I believe it is my duty to give you some clarifications regarding the possible consequences you may encounter.
As I have already mentioned in the opening bars of this guide, disassembling a laptop is not a very simple operation: to succeed in the enterprise, a certain dexterity and familiarity with the use of certain tools is required, as well as a good dose of patience and , above all, quite some time.
Another problem to consider is that each computer has a different structure and, consequently, it provides a separate procedure to be opened, allowing the various internal components to be reached. I'll tell you more: even notebooks belonging to a specific manufacturer can be profoundly different from each other!
Keep in mind that laptops are not designed to be disassembled by everyone but, presumably, only by insiders and experts in the field: some coupling mechanisms (or connections between components to the motherboard) can be complex to manage and easily damaged. from one wrong move.
Furthermore, you should know that, in many cases, re-mounting a disassembled computer can be even more complex! The possibility of finding yourself with the fateful extra screw or with a forgotten piece is very high: due to a second of distraction, you may have to start all over again.
Therefore, if you do not feel ready to take on such an undertaking, do not hesitate to ask for help from an experienced technician, who will be able to guide you adequately, limiting any errors to a minimum (which, in the worst cases, could lead to the impossibility of using the computer again).
Disassemble disk and RAM
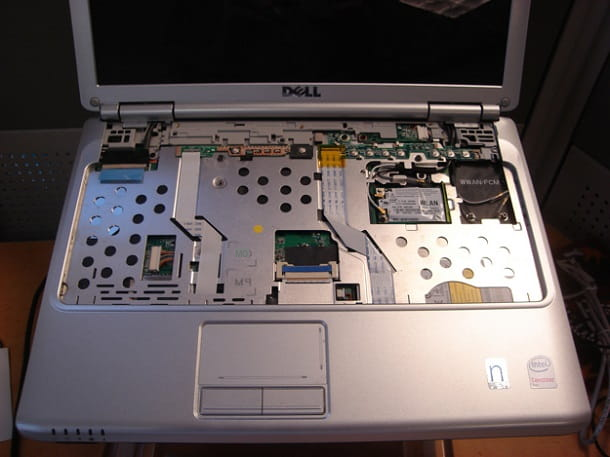
The good news, however, is not lacking: if you intend to take apart the notebook for replace the disk or RAM card, know that many computers of this type simplify access to these components, which can be reached by lifting the appropriate ones flaps located on the bottom edge of the computer. Exceptions are some ultrabooks and the most recent Apple MacBooks which, due to space requirements, have many components soldered and therefore not editable by the user.
If you have an easily modifiable notebook, do this: after turning off the computer and disconnecting it from the power supply, remove the battery, close it e turn it over. Later, locate it flap related to the disk or RAM (usually identified by a hard disk or memory stick icon), suite la vite and gently lift it to access the component below.
On some notebooks, the disco acting on the small plastic lever supplied; on others, however, the other fixing screws must be unscrewed. As for the extraction of the RAM memory banksinstead, it is necessary to intervene on the pincer mechanisms that block the various modules.
How do you say? Now that you've managed to access the damaged components, would you need to replace them? In this case, feel free to consult my purchase guides dedicated to the best internal disks, the best SSDs and the best RAM memories: remember that, for laptops, you have to choose 2.5-inch form factor discs e RAM memories in SO-DIMM format, in the latter case, keeping to the compatibility with the motherboard you are using.
Required material
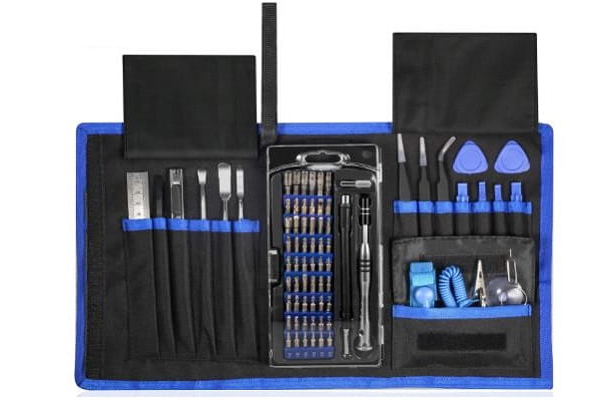
Have you carefully evaluated all the risks involved but have chosen to proceed anyway? In this case, as a first precaution, I advise you to keep a series of tools available that will undoubtedly be useful during construction: screwdrivers with thin bits, picks (or rigid bars) to release and lift components and, optionally, a suction cup, ejector pin and tweezers.
If you don't have them, know that you can find all these tools in special kits, which can be purchased in hardware stores, or online.
See offer on Amazon See offer on Amazon See offer on AmazonIt is also advisable to have gods on hand as well gloves (in latex or nitrile), in order to minimize contact between the hands and the connection buses (which could be damaged by heat) and, if the disassembly operation is aimed at cleaning the inside of the notebook, a can of compressed air.
See offer on Amazon See offer on AmazonAlways choose a work surface that is stable, clean, smooth and free of protrusions or other details that can, in any way, damage the computer or its internal components. Finally, before proceeding, remember to disconnect the notebook from the power supply and from the electricity grid, of let it cool, if necessary, and of remove the battery, if this is removable.
How to take apart an HP laptop
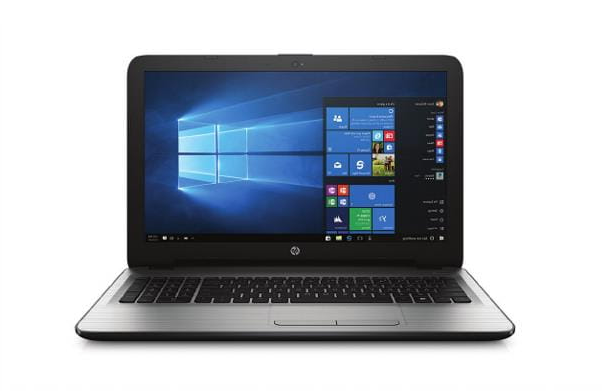
Depending on the precise model, take apart an HP laptop it can be more or less complicated. In this guide, I'll take series notebooks as an example HP 15, that is the models 250, 255 e 256 G5, very similar to each other.
For a start, turn the computer over, remove the battery and unscrew the first 10 fixing screws, taking care to also remove the fixing one dedicated to the CD / DVD player (it is located in correspondence with it, towards the center of the computer).
Subsequently, lift the rubber feet placed on the sides of the battery, with the help of pliers, and unscrew the two fixing screws "hidden" under them; once this is done, gently remove the optical reader from the computer.
Once this is done, turn the computer in the direction of use, open it and, using a pick or a rigid bar, separates the lower body from the upper one gently, taking care to gently unhook everything, without forcing. Finally, close the notebook again, turn it over and separate the two "pieces" of plastic: in this way, you should immediately access the internal components.
If you intend to remove the hard disk, remember to unscrew the fixing screws located on the edges of the adapter and then disconnect the central memory by gently removing the side connector.
How to take apart a Toshiba Satellite laptop
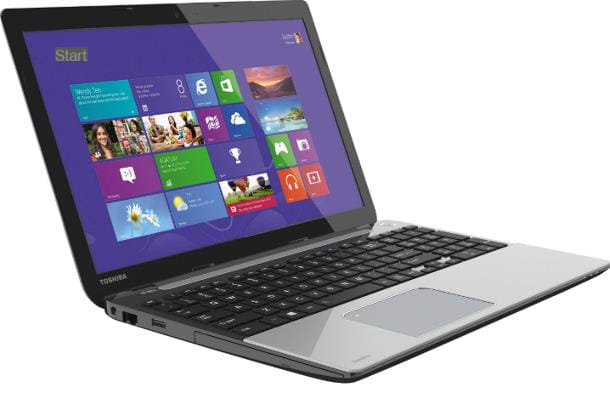
Disassemble the laptops on the line Toshiba Satellite it is not particularly complex, also because many notebooks of the series are equipped with special doors dedicated to RAM and hard disk. Anyway, in this part of the guide I will refer to Toshiba Satellite model notebooks L50/L50D ed L55/L55D.
After disconnecting the laptop from the power supply, turn it over, remove the two screws securing the battery (top, center), the three screws located on the side edges of the notebook and the two screws located on the bottom edge. Finally, also unscrew the one in the center (near the lower air intake).
Having done that, gently remove the CD player of the notebook and, helping you with the plectrum or with the rigid bar, pivot on one of the four corners of the notebook to separate the lower case of the notebook from the upper one. Finally, gently unclip the plastic part until it is completely removed.
In this case, in order to take out the drive (together with its adapter), you should not need to remove any additional screws.
How to take apart an ASUS laptop
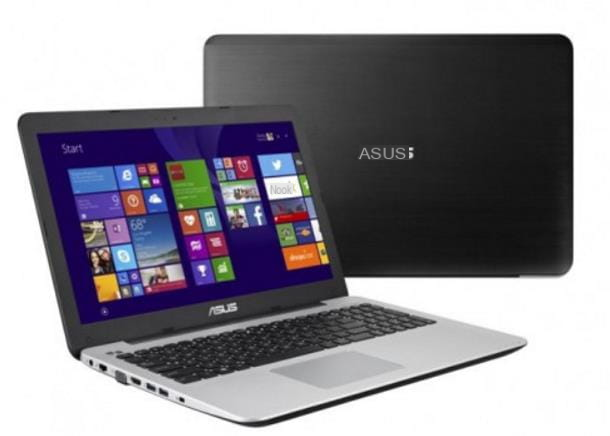
To explain to you how to take apart an ASUS laptop, I took the notebooks of the line as an example X555. To begin, close and turn the computer over after disconnecting it from the mains, remove the screw located corresponding to the RAM memory door (the only one available) and lift the latter, removing, if necessary, the memory modules as well.
Once this is done, remove the remaining 8 screws from the bottom case on the computer: two are on the left side (at the optical reader), two on the right side, two on the top and four on the bottom.
Be careful, why the screws have different lengths, depending on the position in which they are located: note the position of each of them creating a small diagram on paper, as trying to screw a screw in the wrong position could damage the computer case.
Once the screws have been removed, turn the notebook into the "normal" position, open the screen and, with the help of the plectrum or rigid bar, separate the two parts of the plastic wrap.
At this point, gently lift the front of it, without detaching it completely: before you can do this, you must disconnect the keyboard and touchpad connectors from the motherboard. Do this carefully: a too sudden movement could damage the buses or connection cables.
Once you have disconnected the "clamps", you can finally separate the upper part of the body from the lower one: the components, together with the relative screws and connectors, this time, are facing the screen.
How to take apart a Lenovo laptop
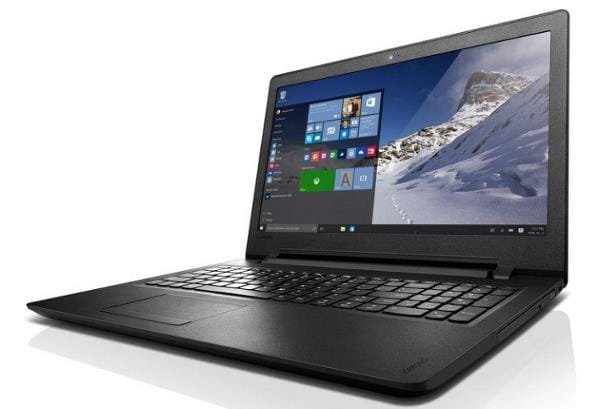
I want to warn you right away: from personal experience, branded laptops Lenovo they are among the most difficult to disassemble, due to the particular configuration of the internal components. Anyway, for this guide, I'll take the notebook as a reference Lenovo Ideapad 110.
First, unplug the computer from the power supply, turn it over and remove the two central screws, those placed just below the battery. Now, turn the laptop over, open it and, helping yourself with a thin pick or with one rigid bar, partially lifts the keyboard, starting from the top, downwards.
Now, gently, disconnect the connectors that hook the latter to the motherboard, lift it completely, disconnect the battery retaining cable (located in the center) and unscrew the fixing screw located near the fan.
At this point, close the laptop again, turn it over and remove the remaining connecting screws: four on the left side, the two On the right side, four down and a central, dedicated to the optical reader. When you're done, gently pull off the latter.
We're almost there: turn the laptop over again and, helping yourself with the plectrum, remove the upper body from the motherboard body; when you are done, turn the laptop over again and repeat the same operation with the lower body of the same.
for further
If you have come this far, it means that you have understood, at least in general terms, how to take apart a laptop to access its internal components. As I have already told you, however, the notebook models in circulation are really many and it is not possible for me to treat them all specifically: the pages of my site would not be enough to do such a thing!
What I can do to help you, though, is direct you to a series of external resources, in which you can find in-depth information on the procedures for assembling and disassembling portable PCs, together with in-depth instructions for a large number of computer models.
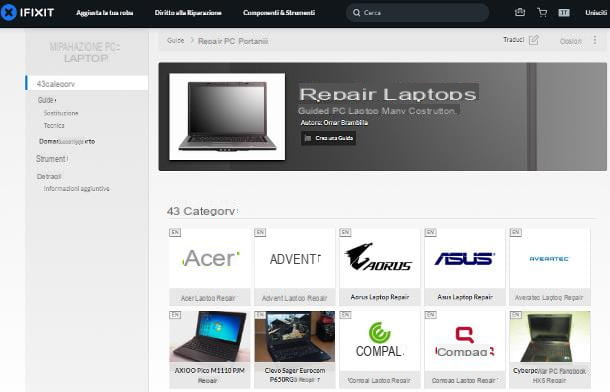
- IFixIt - is a well-known portal dedicated to the repair of various types of electronic devices, including laptops. This site offers a large number of tutorials and video tutorials, full of details and step-by-step instructions. As things currently stand, almost all disassembly guides are in English.
- InsideMyLaptop - is a site similar to IFixIt, but expressly dedicated to the world of laptops. It contains, in addition to the detailed steps to disassemble the body of the notebook, also instructions on the replacement of all internal components, including the LCD panel.
- Future Proof - it is a website that contains dozens and dozens of PDFs dedicated to the disassembly of more or less dated laptops.
- YouTube - if the guides and manuals scattered on the net are not enough, you can refer to the Google video portal: certainly, some users will have published a video to explain how to disassemble your notebook! Among the search keywords, you can use [portable make and model] disassembly, [laptop make and model] repair, [laptop make and model] upgrade, disassemble [portable brand and model] and so on.