How to Download Inkscape
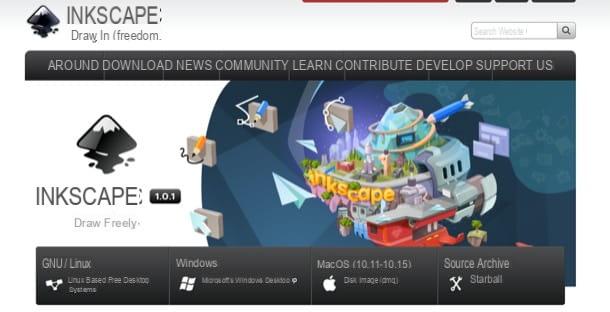
The first thing you need to do is, of course, download Inkscape: to do this, go to the Inkscape site, hover the mouse cursor over the item DOWNLOAD and click on the entry Download present in the opened menu.
On the next page, click on the name of the operating system you are using on your computer. If, for example, you have decided to download Inkscape on Windows, click on the link 32-bit o 64-bit (depending on the version of Windows in use) and then on the voice Windows Installer Package.
If, on the other hand, you have decided to download Inkscape on MacOS, after clicking on the link for the Apple operating system, wait for the automatic download of the program installation file (if it does not happen automatically, start it "manually" by clicking on the link click here present on the page that opened).
When the download is complete, if you are using Windows, april il .msi files che hai ottenuto, click on the button Next, check the box I accept the terms in the License Agreement, click again on Next twice in a row and then on the buttons install, Yes e Finish, to conclude the setup. To open the program, all you have to do is double-click on the shortcut that appeared on the desktop.

It was used MacOSInstead, open the .dmg file you got and drag theInkscape icon in the folder Applications, acting from the open window.
Next, go to the folder Applications of macOS, do right click on the Inkscape icon and select the item apri for two consecutive times: this operation must be done only at the first start of Inkscape and serves to “override the restrictions imposed by Apple on software from unknown sources.

Did you see how easy it was to download Inkscape? Now you just have to find out how to use the program, by reading and putting into practice the instructions given in the next chapter of the guide.
How do you use Inkscape
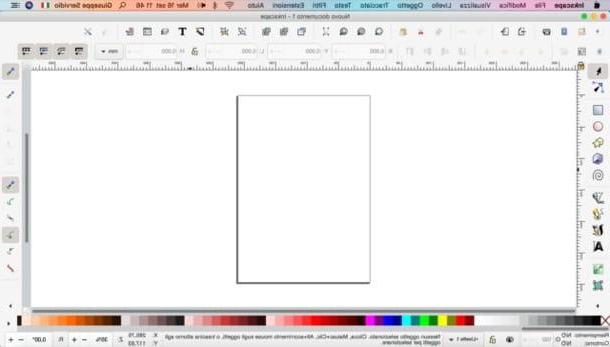
Now that you have downloaded and launched the program, you can finally find out how to use Inkscape. First of all, I invite you to note how its interface is structured: on the left is the toolbar containing the various drawing tools available (we will see the main ones shortly); below is the color palette; in top bar there are buttons relating to some quick functions of the program; in the upper part of the window there are the various menu (on macOS they are located in the system menu bar of course) and in the center is the worksheet true.
To start drawing a drawing in Inkscape, all you have to do is select a tool from the toolbar located on the left and start using it directly on the worksheet placed in the center of the window.
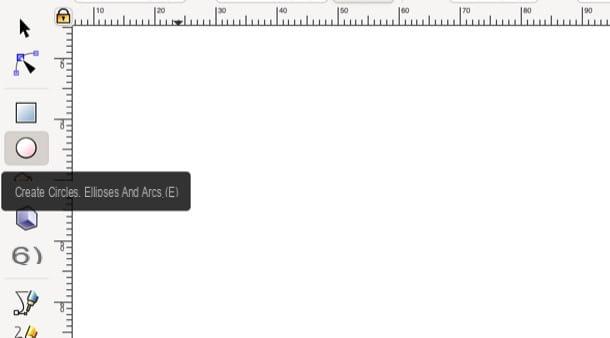
Among the main tools of Inkscape we find: Select and transform objects (represented by the icon of the black arrow), which allows you to select an object and possibly move it, resize it and so on; Edit paths from nodes (represented by arrow touching a node), which allows you to customize the shape and size of objects, round their edges, etc .; and then Create rectangles and squares, Create circles, ellipses and arcs, Create stars and polygons, Create 3D solid e Create spirals through which it is possible, respectively, to draw rectangles and squares, ellipses and arcs, stars and polygons, three-dimensional shapes and spirals.
Using the remaining tools it is then possible to draw lines (Draw paths and straight lines), draw freehand lines and shapes (Draw freehand lines), draw calligraphic lines and brush strokes (Create calligraphic lines or brush strokes) and add and edit textual objects.
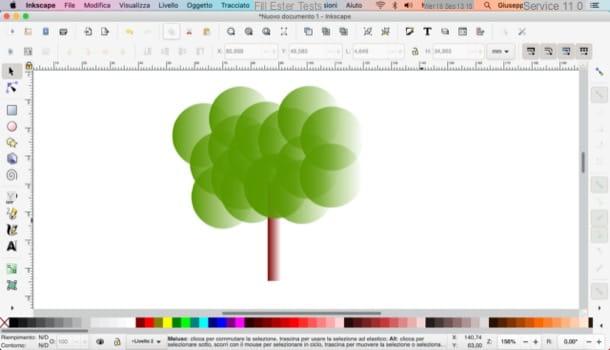
From theory, now, let's move on to practice and see how to use some of the aforementioned tools to create a very simple vector drawing: this exercise will help you understand the general functioning of the program.
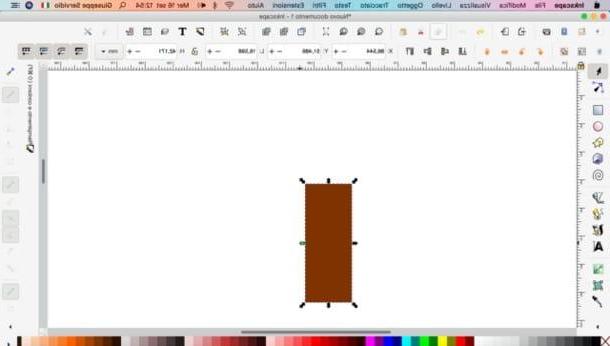
First, select the instrument of your interest (eg. Draw freehand lines, Create rectangles and squares, etc.) and choose the outline color (if it is a line) or the fill color (if it is a geometric figure). Then draw the chosen line or geometric shape on the worksheet, holding down the left mouse button and releasing it when you have obtained the desired line or shape.
If you are going to change the size of the shape you drew, call up the tool Select and transform objects from the toolbar on the left, select the shape or line of your interest and drag outwards or inwards the drawing made the arrows appearances on the screen, based on the result you want to obtain. Then repeat the steps just described for all other shapes, lines and objects you want to add to the design.
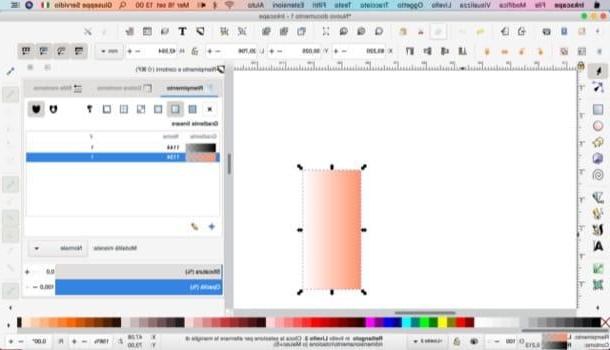
To change the color of an object, select it and use the color palette placed at the bottom to apply the color of your interest. To apply shades and other color changes to the object you added, instead, right-click on the shape itself and select the item Filling and outlines give the menu to compare.
In the opened box, then click on the tab relating to the element you want to change (eg. Filling o Outline color), select one of the types of gradients among those available (by clicking on one of the squares in the box) and rule blur e opacity through the appropriate slider.
When you are satisfied with the result, click on the x at the top right to close the box for modifying the object's fill and outlines.
Being a vector graphics software, Inkscape obviously allows you to work on multiple levels, which can be useful to better manage all the elements and objects included in the project you are working on (especially if it is a fairly complex project. and complex, as it likely is).
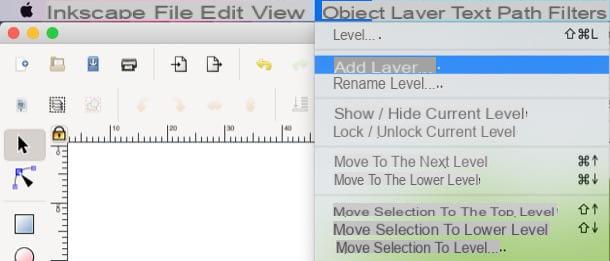
To add a layer, open the menu Subscription and select the wording Add level from the latter. In the opened box, then provide the level name in the dedicated text field, select yours position using the appropriate drop-down menu (eg. Above the current, Under the current o A sub-level of the current) and click on the button Add.
By going to the menu Subscription and selecting the voice Layers you have the possibility to manage the levels in all respects, using the box that appeared on the right: you can then rename the levels (by right clicking on them and selecting the item Rename level from the next menu), move them up or down (by dragging them while holding down the left mouse button), lock / unlock them (via the padlock) and add new ones and / or remove them more easily (using the buttons + and / or -).
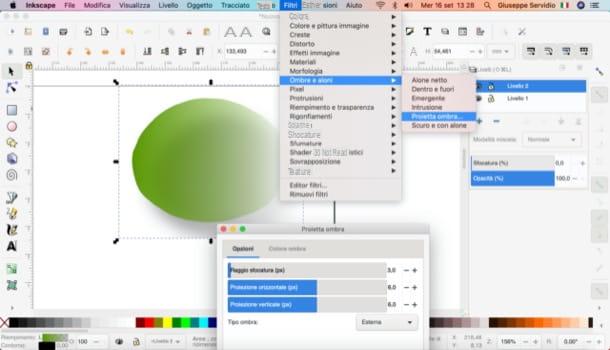
Via the menu filtersInstead, you can apply various filters and effects to the objects in the drawing you are making. To do this, all you have to do is select the object of your interest, open the menu filters and select the one you are interested in (eg. Color, Distorted, Shadows and halos, Texture, Etc.).
If, for example, you intend to apply a very soft and light shadow to the object, go to the menu Filter> Shadows & Halos> Cast Shadows and, making use of the indicators present in the opened box, act on ray of blur, on his projection, etc. then click on the button Apply to make the desired changes.
When you have finished your vector drawing with Inkscape, proceed to save it. To do this, open the menu Fillet (top left) and select the item Save eat da quest'ultimo.
In the window that opens, assign a name to the drawing, using the text field at the top, select the position in which to save it and also choose the output format through the drop-down menu located at the bottom (eg. SVG, PDF, Etc.).
Given the complexity of using Inkscape, you need to keep practicing to master all the tools in the program. It will take some time, but given the versatility of this software it will definitely be worth it.
For this reason, I invite you to also consult the written tutorials and the video tutorials (in English) that can be found on the official website of the program. I'm sure these resources will also be useful for you to learn how to fully use Inkscape.
How to use Inkscape